Excel Course: AutoFill series
Autofill often saves you a considerable amount of time because it prevents you from having to repeat the same operation over and over.
Start by entering the number 1, and the number 2 immediately below it, as shown here:
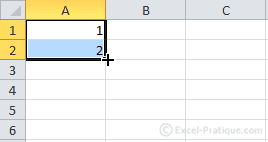
We're going to increment up to 20.
To do this, place the mouse pointer on the lower right hand corner of the selection, then click and drag downards until you see the number 20.
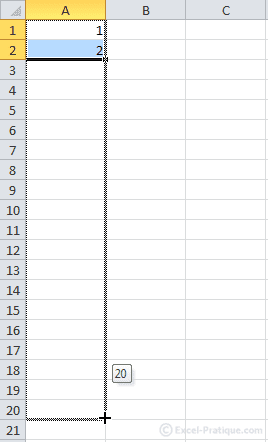
Release the mouse button for the following result:

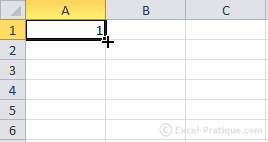
Another way to achieve the same AutoFill: Enter the number 1 in A1:
If you do the same as in the previous example, you will see this result:
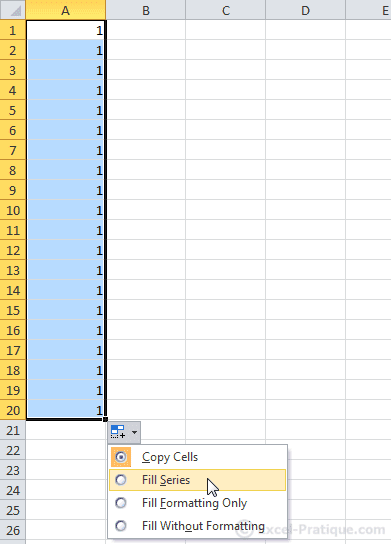
Then choose "Fill Series":

AutoFill Series can also be applied to days, months, dates, times, etc.
Here is an example of this:
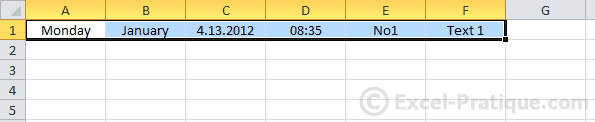
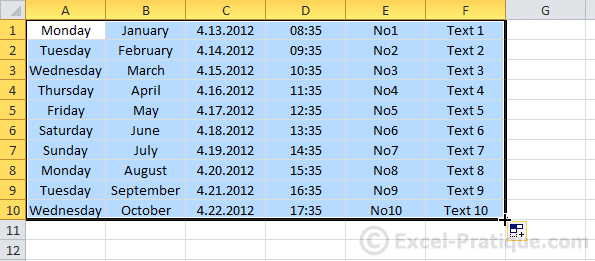
The result:
If you would like a different interval, do as shown immediately below:
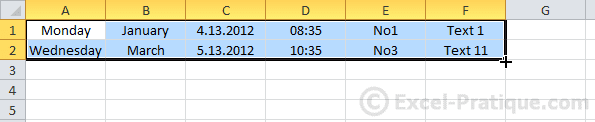
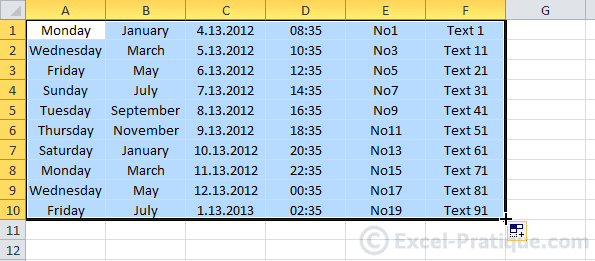
In this case, the result will be as in the image below:
- Increment A: 2 days
- Increment B: 2 months
- Increment C: months (instead of days)
- Increment D: 2 hours
- Increment E: + 2
- Increment F: + 10
Example Using a Function
The selected cell contains the sum of the values shown in the frame.
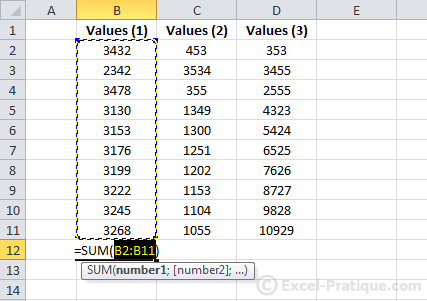
Now let's go ahead and do the AutoFill:
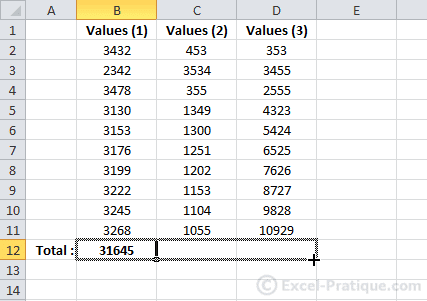
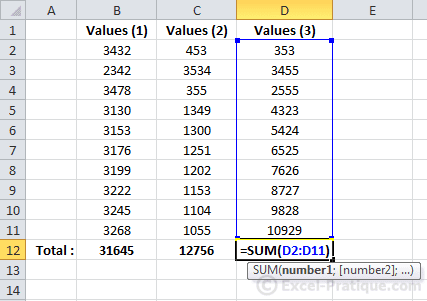
The result is 2 new values, each of which is the sum of the values in its column:
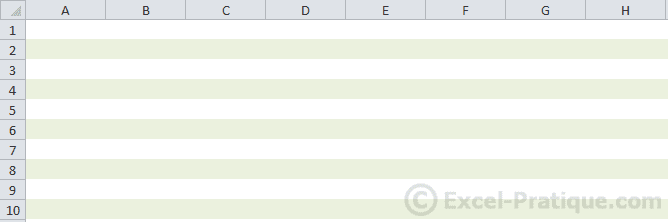
AutoFill Formatting
Example of how to use Autofill for formatting, given the following 2 rows.

Just select and AutoFill the rows.

This will be the result:
Exercise
Here is an exercise that will help you put everything you've learned in the first 5 lessons into practice: exercise5.xlsx