Excel Course: The Basics (saving, printing, sheets)
Saving a Workbook
To save your file, click on the diskette to the upper left of the window.
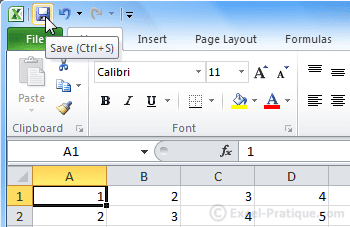
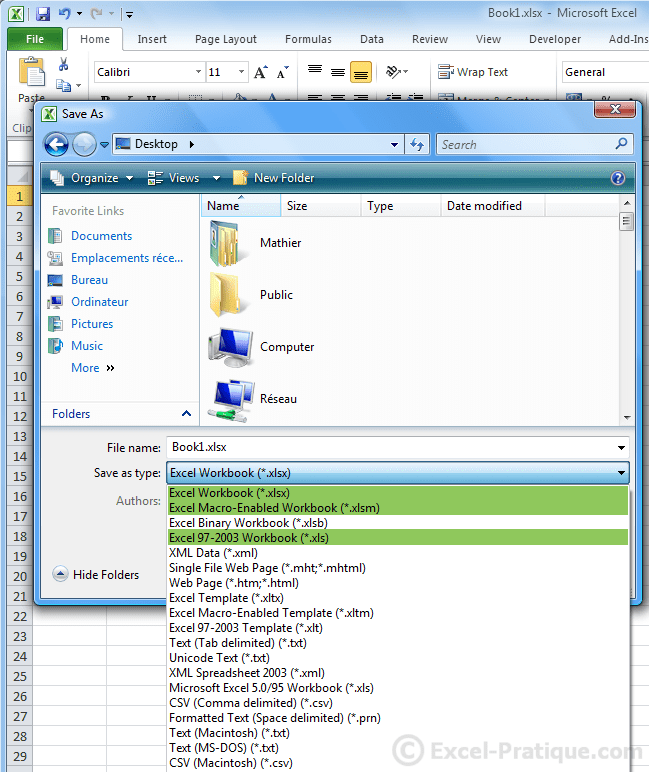
If it is the first time, Excel will ask you where to save the file, what file name to use, and which extension.
The 3 main extensions are the following (shown in green on the image below):
- XLSX: The default format for Excel 2007 and later versions (recommended)
- XLSM: If your workbook contains macros, you must use this extension (this is also a format for Excel 2007 and above)
- XLS: If your file needs to be readable in versions of Excel lower than 2007, you must use XLS (among other problems, this can result in loss of formatting)
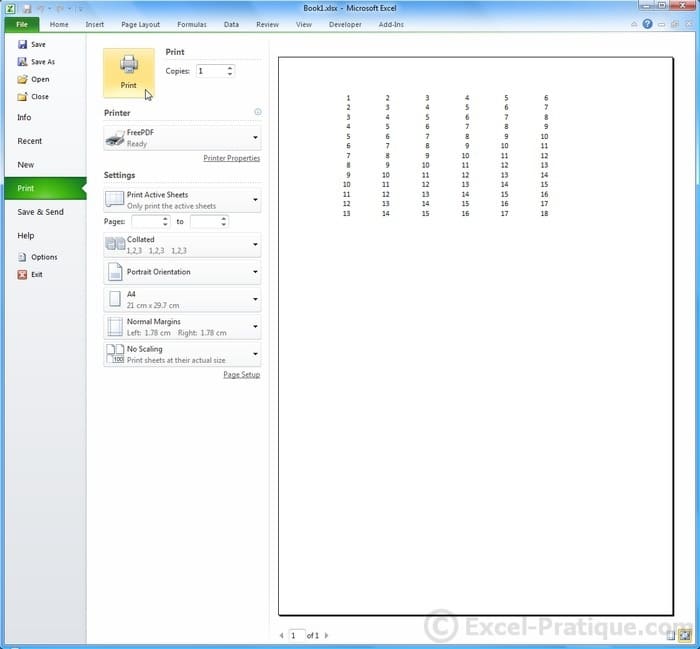
Printing
Click on "File" then "Print".
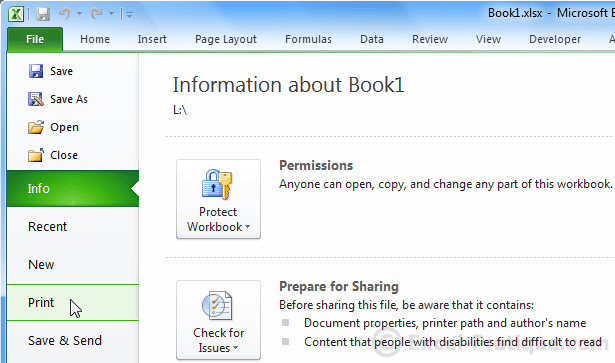
You will see a print preview on the right hand side. Click the "Print" button to start printing.
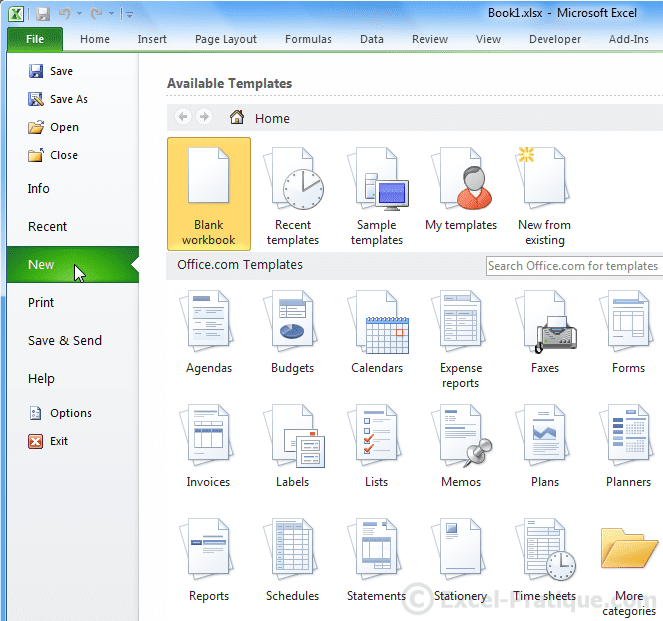
Document Templates
Click on "File" then "New".
You will see a good selection of readymade templates from which you can choose.
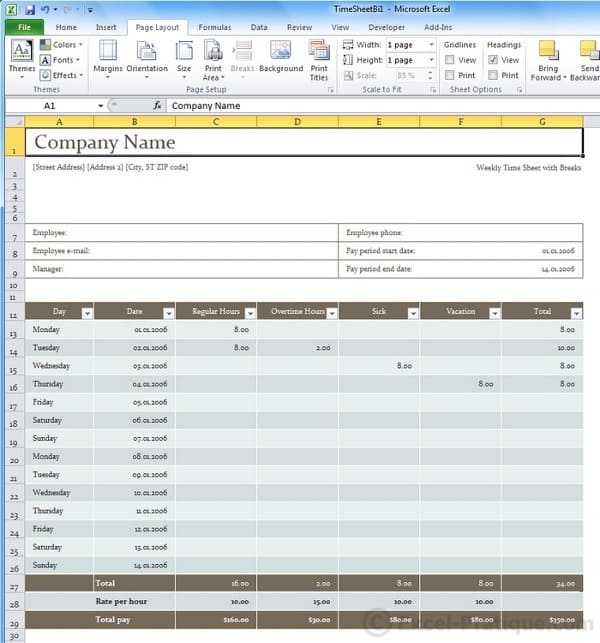
Here is an example of one of the included templates (a timesheet):
Workbook Sheets
To bring up the menu shown below, right click on the name of one of the sheets.
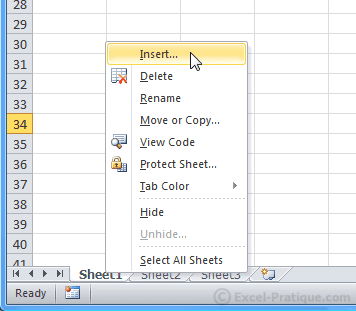
From this menu, you will be able to:
- Add new sheets
- Delete the selected sheet
- Rename the selected sheet (you can also rename the sheet by double clicking on the tab)
- Change the order in which the sheets appear (you can also move the sheets around by clicking and dragging them)
- Copy the selected sheet
- Change the color of the tab
- Show/Hide a sheet
- And More...
Selecting Cells
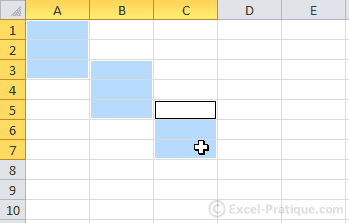
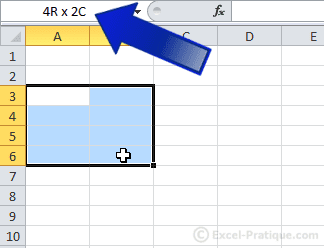
In the image below, 8 cells have been selected (the number of rows and columns is displayed when they are selected):
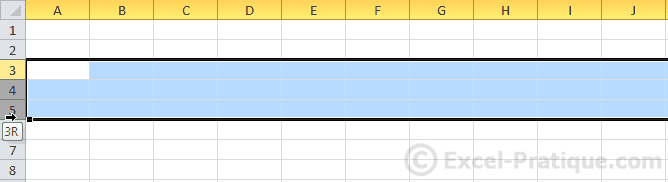
To select an entire row or column, click on its number.
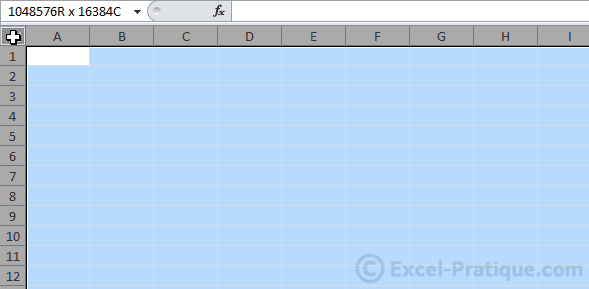
To select all the cells on a sheet, press "Ctrl+A" or click on the button shown in the image below:
To select multipe non-contiguous cells, hold down "Ctrl" and click on the cells to select them.